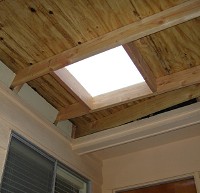
Why have a skylight in an outdoor porch roof?
Well, it's all about solar orientation and the needs of nearby rooms. I have an existing bedroom (possible future office or dining room) window just below it. The sun hardly shines in there, even with the previous short eaves. Now with the skylight, it's much brighter. Yet the deep roof shields midday sun nicely, providing a large protected walk-up area.
The framing stage at this point still allows changes. It can be closed off or cut larger. I think it's just right.
See
solar animation.

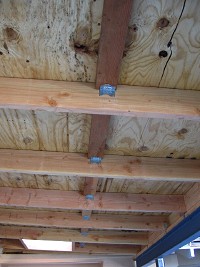
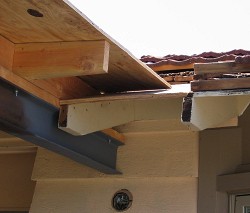
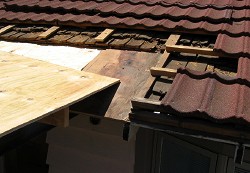
 Instead of removing the existing blocking, I had cut around them to fit the new rafters. Everything was a nice snug fit. A gap resulted from the change in roof pitch. So for nailing purposes I filled the gap with angled pieces. Once glued, it's as good as a solid single piece. 10d nails also help to penetrate all the way through.